









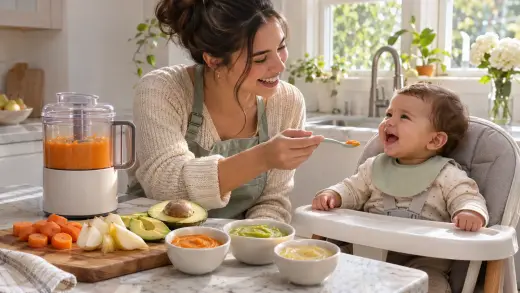
How to Choose a Baby Food Maker: Steam-and-Blend Machines, Kitchen Tools, and Food Safety
Do you need a baby food maker? Compare steam-and-blend machines with normal kitchen pots and blenders, plus safe cooking, storage, and cleaning rules.
On this page
- Key points at a glance
- What is a baby food maker, and do you actually need one?
- Why steaming is a great way to cook for babies
- Types of baby food makers and kitchen tools
- Side-by-side comparison: Baby food makers vs normal kitchen tools
- How to choose a baby food maker: 7 features that actually matter
- Baby food textures by age: why you won't puree for long
- Official feeding and safety guidance: Australia, the UK, the US, and …
- Food hygiene: how to cook, cool, freeze, and reheat baby food safely
- How to clean and descale a baby food maker properly
- Choking prevention: foods your blender should handle (and foods to pr…
- 7 common mistakes parents make with baby food makers
- Frequently asked questions
- Sources
Short answer: You do not need to buy a special baby food maker to feed your baby healthy homemade solids. A simple saucepan, a steamer basket, a fork, and a stick blender do the exact same job. Maybe you still want a dedicated machine. If so, pick one with a glass or stainless steel bowl. Make sure it has a water tank you can see into and scrub easily. Also look for very few small plastic parts. Whether you use a fancy machine or a normal pot, food safety rules stay the same. Start solids at around 6 months. Cook hard foods until they are soft. Cool purees quickly, and never reheat baby food more than once.
This advice matches official health guidance across four countries. That includes Australia (National Health and Medical Research Council and Raising Children Network) and the UK (NHS). It also matches the US (American Academy of Pediatrics and FoodSafety.gov) and Canada (Health Canada and the Canadian Paediatric Society).
Key points at a glance
- You already own what you need. A pot with a steamer basket, a fork, and a stick blender can make any baby food.
- What a baby food maker actually does. Most baby food makers are small benchtop machines. They steam food and then blend it in one jug. Some models ask you to flip the jug over to blend.
- Best materials. Glass bowls and stainless steel baskets handle heat well. They do not scratch, cloud, or hold onto food smells like plastic can.
- Biggest hidden flaw. Many steam-and-blend machines have narrow, closed-in water tanks. These tanks can grow mould and build up limescale if you cannot reach inside to clean them.
- Texture stages move fast. Babies only eat smooth purees for a few weeks or months. Soon they need mashed, lumpy, and finger foods. You do not blend those foods at all.
- Food hygiene matters most. Wash your hands before you start. Scrub blades and rubber seals after every batch. Chill cooked food within one to two hours. Always throw away any food left in your baby's bowl.
What is a baby food maker, and do you actually need one?
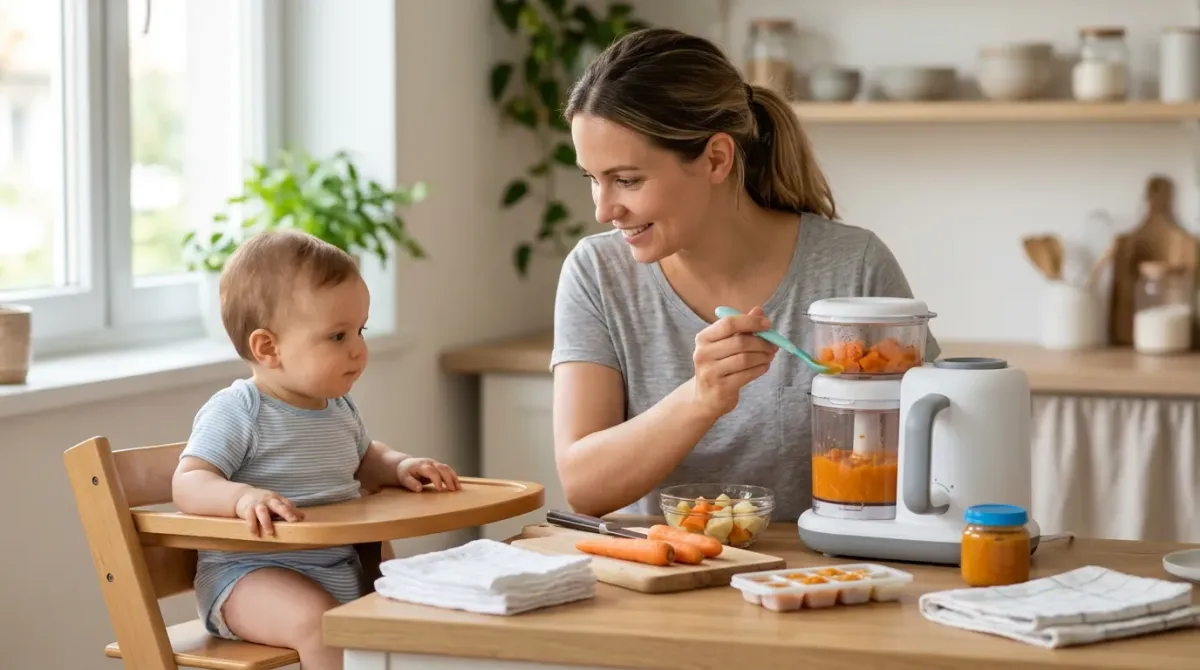
A baby food maker is a small kitchen appliance. It is built to make small batches of pureed or mashed food for infants. Most electric models are "steam-and-blend" machines. You chop up raw fruit, vegetables, or meat and put them in the basket. Next, you pour water into a small tank and press a button. The machine steams the food until it is soft. Then it blends the food into a smooth paste.
Some machines do both steps in the exact same bowl without you touching anything. Others ask you to open the lid first. You tip the steamed chunks from the basket into the main jug, then press a button to blend. There are also non-electric baby food mills. These are small hand-turned grinders you use at the dinner table.
Do you need one? No. Every major health body points out that normal kitchen tools work just fine. This includes Australia's Raising Children Network, the UK's NHS, the American Academy of Pediatrics (AAP), and the Canadian Paediatric Society (CPS). You can steam vegetables in a metal colander over a pot of boiling water. You can also microwave them with a splash of water. Then you can mash them with a fork or whizz them with an everyday stick blender.
Why do some parents still buy a dedicated baby food maker? It comes down to convenience and bench space. You can put chopped pumpkin and chicken into a machine and walk away while it cooks. Afterwards, you wash only one small jug instead of a pot, a colander, and a big food processor. A baby food maker can save you a little bit of effort. Still, it is a short-term purchase, not a must-have item.
Why steaming is a great way to cook for babies
Steaming is one of the best ways to cook vegetables and fruit for a baby. This is true whether you use a baby food maker or a saucepan on the stove. When you boil vegetables in water, many vitamins leach out into the cooking water. This happens a lot with vitamin C and some B vitamins. Unless you use that cooking water to thin out the puree, those nutrients go down the sink.
Food science research backs this up. A 2018 study by Lee and colleagues in Food Science and Biotechnology looked at cooking methods. It showed that steaming keeps much more vitamin C inside vegetables like broccoli, spinach, and carrots compared to boiling. Steaming also keeps the natural sweetness and bright colour of the food. You do not need to add any salt, sugar, butter, or oil.
That said, you do not need an electric baby food steamer to get this benefit. A simple stainless steel steamer basket inside a regular pot with a lid works just as well.
Baby Food Makers & Steamers worth a look
Real products from our catalogue. We don't show star ratings or review counts; check the current price, stock and reviews on Amazon before you buy.

Baby Brezza One Step Baby Food Maker Deluxe
Steam-and-blend baby food maker
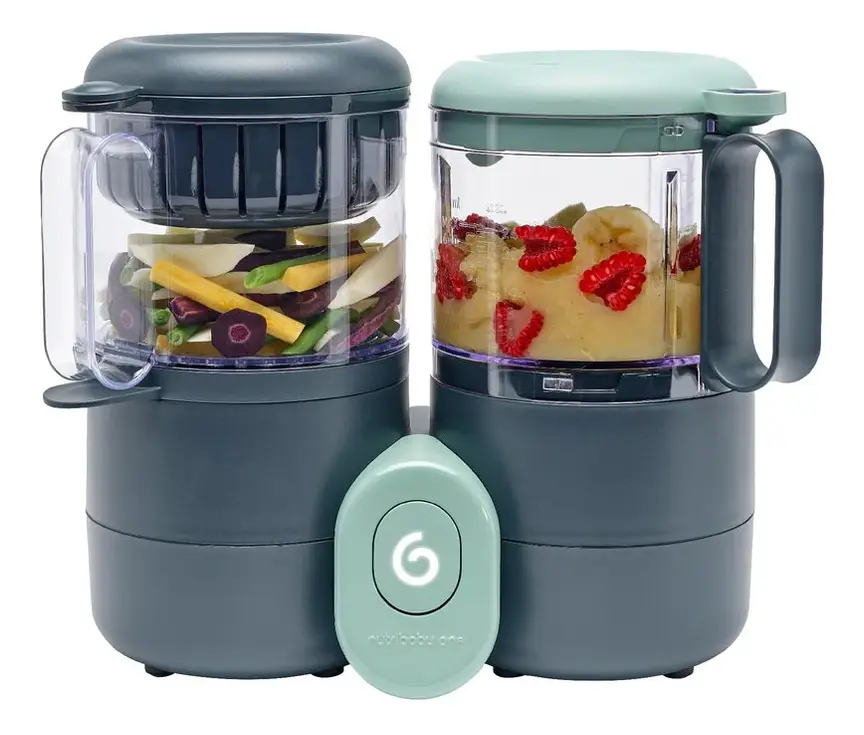
Babymoov Nutribaby One 4-in-1 Baby Food Maker
Steamer blender
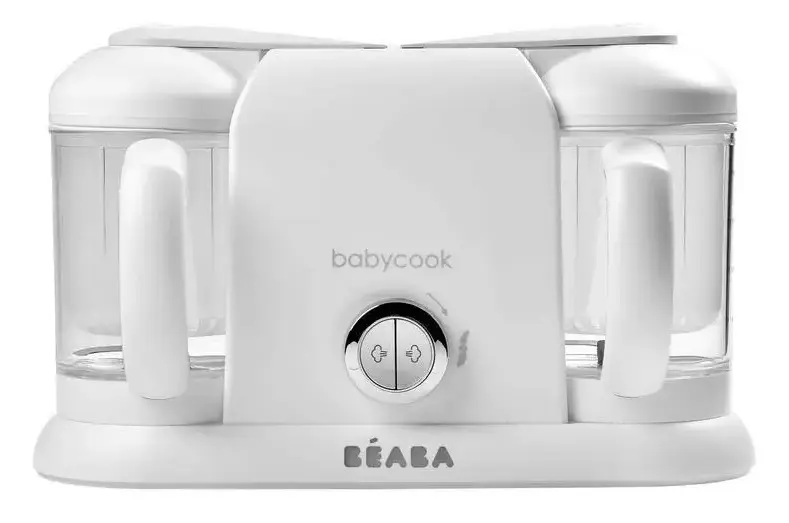

Beaba Babycook Neo
Steam-and-blend baby food maker with a glass bowl and stainless steel steam basket.
Types of baby food makers and kitchen tools
Before you spend money, look at how the different options work in a real kitchen. There are five main ways parents make baby food at home.
1. All-in-one electric steam-and-blend machines
These are the most popular dedicated baby food makers. They have a water tank, a heating element that makes steam, a blending jug, and a spinning blade. You set a timer on the base. The machine steams the food and blends it automatically, or waits for you to press the blend button.
- Pros: Cooking is hands-off. It uses one small spot on the kitchen bench. It makes single meals or small batches easily.
- Cons: They are expensive. Small jugs cannot do big freezer batches at once. Hidden steam pipes and water tanks can be very hard to clean and descale. The motors can also be loud.
2. Steam-and-flip machines
In these models, the blade sits at the top of the jug while the food steams. Once the steaming finishes, you lift the whole jug off the base. You flip it upside down so the food falls onto the blades. Then you lock it back in and blend.
- Pros: There are fewer moving parts inside the lid. It keeps the food out of the cooking liquid until you choose how much liquid to keep.
- Cons: Flipping a hot jug full of steam takes care so you do not burn your hands. The seal ring must be put in properly every single time. Otherwise, hot liquid leaks out.
3. Stick (immersion) blender plus a saucepan and steamer basket
This is the classic kitchen setup. You steam food in a basket over a pot on the stove. Next, you tip the soft food into a tall cup or bowl. Then you blend it with a handheld stick blender.
- Pros: It is cheap if you do not already own one, and free if you do. You can make huge batches at once. There are zero hidden water tanks to grow mould. Best of all, you will keep using the pot and stick blender for family soups, smoothies, and sauces for years.
- Cons: You have to watch the pot on the stove so it does not boil dry. You also have two things to wash instead of one.
4. Regular benchtop blender or small food processor
A normal kitchen blender, personal smoothie blender, or mini chopper can puree cooked food in seconds. You still cook the food first on the stove, in the oven, or in the microwave.
- Pros: They have very strong motors. They handle meat, beans, and stringy vegetables easily. Mini choppers are also great for making small amounts of lumpy food later on.
- Cons: Full-sized blender jugs are often too wide to blend two tablespoons of food. Small amounts of food just fly up the sides and miss the blades.
5. Manual baby food mill or fork and masher
A manual food mill is a small plastic or stainless steel bowl with a hand crank. At the bottom is a metal disc with tiny holes. You put soft cooked food inside and turn the handle to push the food through the holes. It catches tough skins and seeds while mashing the soft flesh.
- Pros: It needs no cords, batteries, or electricity. It is very cheap. It is great for travel or mashing a portion of your own roast vegetables right at the dinner table.
- Cons: It cannot cook raw food. It takes arm work. It also does not make smooth pastes from tough meats.
Side-by-side comparison: Baby food makers vs normal kitchen tools
Use this table to compare the five main ways to prepare homemade baby food.
| Feature | All-in-One Steam & Blend | Basket Steamer + Stick Blender | Mini Food Processor / Chopper | Manual Food Mill | Fork & Potato Masher |
|---|---|---|---|---|---|
| Cooks the food? | Yes, steams raw food. | Pot steams. Stick blends. | No. Cook food first. | No. Cook food first. | No. Cook food first. |
| Batch size | Small to medium (a few meals). | Any size, from 1 cup to a huge pot. | Small to medium. | Single meal at a time. | Any size. |
| Texture control | Smooth puree to fine chop. | Smooth puree to thick mash. | Smooth puree to chunky chop. | Soft mash only. Catches skins. | Chunky or soft mash. Not smooth. |
| Handles cooked meat? | Yes, if cut into tiny cubes. | Yes, very well with liquid. | Yes, very well. | Poorly. Fibres clog the disc. | No. Must shred by hand. |
| Ease of cleaning | Hardest. Has tanks, seals, and tubes. | Very easy. Rinse wand and pot. | Easy. Bowl, lid, and one blade. | Moderate. Food sticks in holes. | Easiest. Straight in the sink. |
| Mould & scale risk | High in closed water tanks. | None. | None. | None. | None. |
| Use after babyhood | Low. Mostly sits in a cupboard. | Very high. Soups, sauces, and dips. | Very high. Herbs, nuts, and dips. | Low. | Everyday kitchen tool. |
How to choose a baby food maker: 7 features that actually matter
Maybe you decide an electric baby food maker suits your kitchen and routine. Ignore the fancy marketing names and check these seven practical things before you buy.
1. Bowl and basket materials: glass and steel vs plastic
Look for a machine with a tempered glass mixing bowl and a stainless steel steaming basket. Most cheaper baby food makers use plastic bowls and plastic baskets. They are often labelled Tritan, polypropylene, or "BPA-free" plastic. Regulators like Food Standards Australia New Zealand (FSANZ) and the US Food and Drug Administration (FDA) state that BPA is no longer used in baby bottles and infant feeding gear. Even so, hot steam and repeated washing wear down plastic over time.
Research on polypropylene feeding bottles shows why this matters. A 2020 study by Li and colleagues in Nature Food looked at heat and plastic. It showed that high heat and hot water cause plastics to shed tiny microplastic particles into food and liquid. Plastic bowls also stain orange from carrots and sweet potato. They go cloudy in the dishwasher. Spinning metal blades also leave tiny scratches where bacteria can hide. Glass and stainless steel do not shed microplastics. They do not stain, and they last much longer.
2. An open, wide-mouth water tank
This is the number one complaint from parents who buy electric baby food makers. To make steam, the machine heats water in an internal tank. Some tanks have a tiny filler hole the size of a coin. If so, you cannot get a sponge or bottle brush inside it. Over a few weeks, damp heat and tap water minerals create limescale crust. They can also grow slimy biofilm or black mould spots inside the tank.
Always choose a model with a wide, open stainless steel heating bowl. You should be able to see right into it and wipe it dry with a cloth after every use. Avoid machines with long, hidden plastic steam tubes that cannot be taken apart.
3. Removable blades and simple rubber seals
Pureed meat, sticky banana, and starchy porridge get pushed into tight spots. They hide underneath the spinning blade and under the silicone seal ring on the lid. If the blade is fixed to the bottom of the jug, you will struggle to scrub under it without cutting your fingers. Pick a jug where the blade unscrews completely from the bottom. Also check that all silicone rings pull out easily for washing.
4. Manual pulse control vs automatic blending
Fully automatic machines sound clever. You press one button and walk away. In practice, automatic timers often blend food for too long. They turn everything into a watery soup. Once your baby is 7 or 8 months old, they need thicker, mashed, and lumpy textures to learn how to chew. A machine with a manual "pulse" button is much better. It lets you tap the blade for just one or two seconds to leave soft lumps in the food.
5. A steaming basket that keeps food out of the cooking water
Some machines drop the food right into the bottom of the bowl and boil it in water. Better machines hold the food up high in a separate steamer basket. That way, only pure steam cooks the food, while any cooking drips fall to the bottom. You can pour off the liquid at the end and add back only the exact splash you need. Or you can swap it for your baby's usual breast milk or infant formula.
6. Bowl capacity and minimum blend amount
Check both the maximum and minimum amounts the bowl can handle. A tiny bowl means you have to run the machine three times just to fill one freezer tray. On the other hand, check how high the blade sits off the floor of the jug. If it sits too high, it will not catch a tiny single portion of food for a 6-month-old. The blade will just spin in thin air.
7. Skip the "4-in-1" and "6-in-1" gimmicks
Many machines advertise that they do four or six jobs in one unit. They claim to steam, blend, warm milk bottles, defrost frozen cubes, and sterilise dummies. In reality, warming a bottle or defrosting a cube in a steam machine takes a long time. It also creates uneven hot spots. Health authorities in Australia, the UK, the US, and Canada advise defrosting baby food safely in the fridge overnight. Sitting food in warm steam is risky because bacteria can multiply if the food stays lukewarm.
Baby food textures by age: why you won't puree for long
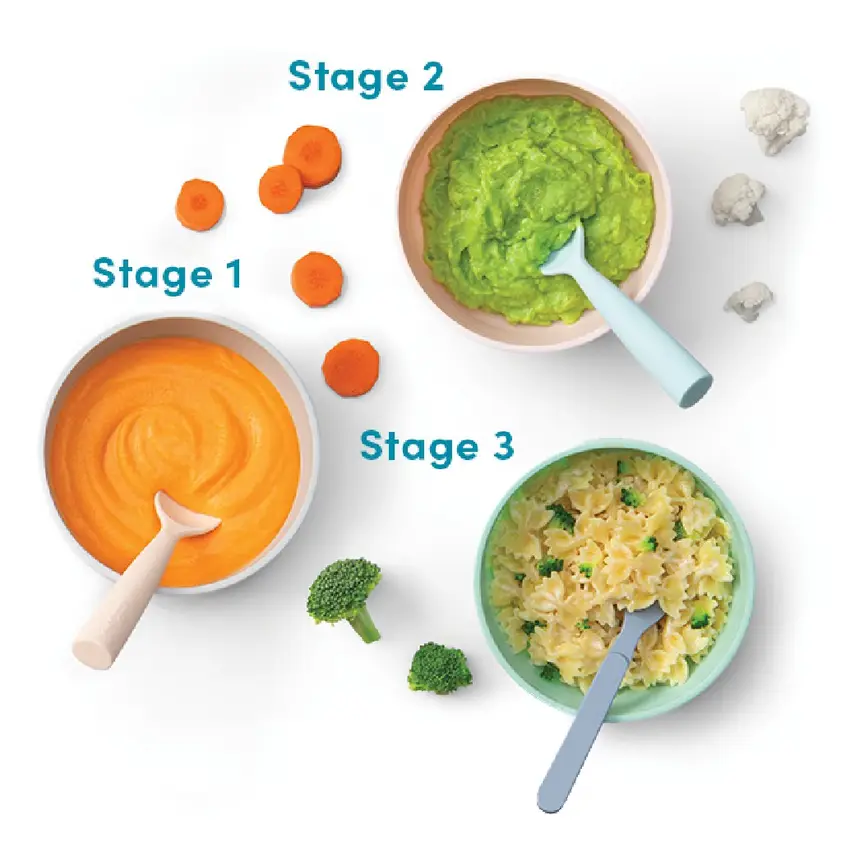
Think twice before buying an expensive pureeing machine. Your baby will grow out of smooth purees very quickly. Health authorities across all four countries agree on texture progression. Babies should move through textures steadily so they develop their jaw muscles, tongue control, and chewing skills.
| Baby's Age | What textures to offer | How to prepare it |
|---|---|---|
| Birth to around 6 months | Breast milk or infant formula only. No solid foods needed. | No food maker needed. |
| Around 6 months (first tastes) | Smooth purees or well-mashed soft foods. Start with iron-rich foods like pureed meat, iron-fortified infant cereal, or mashed beans and lentils. Some families start with soft finger foods right away (baby-led weaning). | Steam hard vegetables or fruit until very soft. Simmer meat or legumes until tender. Blend smooth or mash well with breast milk, formula, or cooled boiled water. |
| 7 to 9 months | Mashed foods with soft lumps, minced meats, and grated foods. Also offer soft finger foods your baby can pick up, like soft-cooked broccoli, ripe banana, or toast fingers. | Stop pureeing everything smooth. Use a fork or potato masher, or pulse the blender for just a second. Leave soft chunks for your baby to gum and chew. |
| 9 to 12 months | Chopped family meals, bite-sized pieces, minced or finely shredded meat, pasta shapes, and finger foods. | Cook normal family meals without added salt or sugar. Chop or mash them into small, easy pieces on the chopping board. |
| 12 months and older | Normal family foods with the rest of the household, cut safely to prevent choking. | No baby food maker needed at all. |
Notice what happens here. You start solids at around 6 months and move to mashed and lumpy textures within a few weeks. That means you only need a smooth puree blender for about four to six weeks! Research such as the University of Otago's BLISS trial in New Zealand backs up early finger foods. When parents offer safe, soft finger foods (modified baby-led weaning), babies have no higher risk of choking than babies fed spoon-fed purees. Many families mix both approaches. They offer some spoon-fed mash and some finger foods. That takes nothing more than a steamer pot and a fork.
Side by side: more baby food makers & steamers to compare
Real products from our catalogue. We don't show star ratings or review counts; check the current price, stock and reviews on Amazon before you buy.
 Reviewed
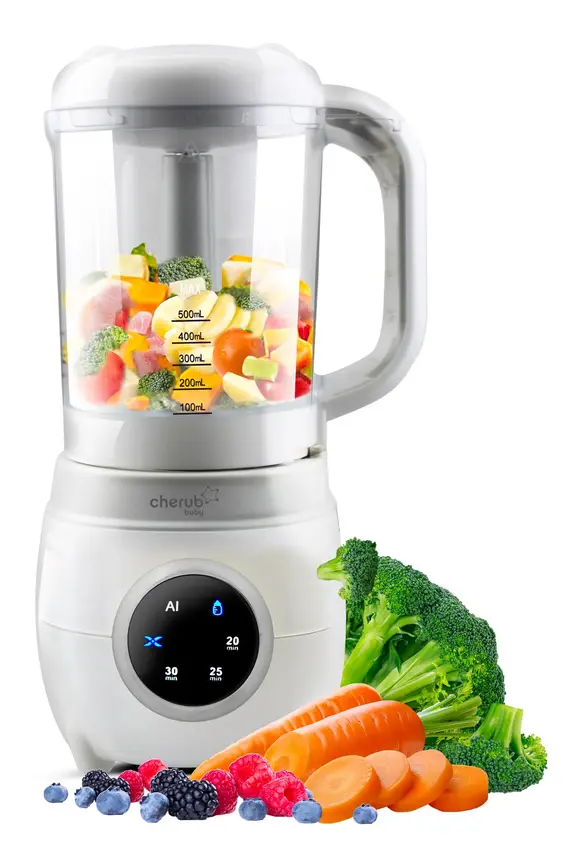
Cherub Baby Food Maker & Steriliser
Steams then blends food. It can also defrost, warm bottles and sterilise.
Read our full review →
Babymoov Nutribaby(+) 6-in-1 Baby Food Processor
Steamer blender

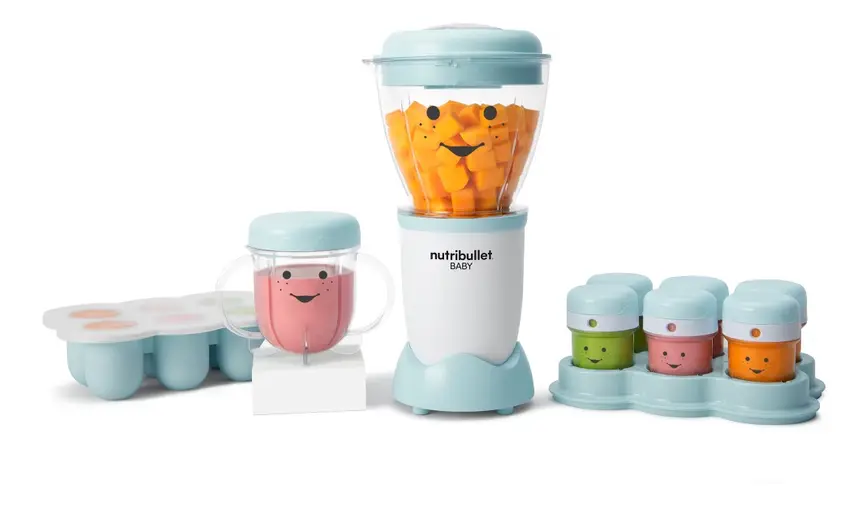
NutriBullet Baby Bullet
A small 200 W blender kit with date-dial cups and a freezer tray for batch cooking.
Read our full review →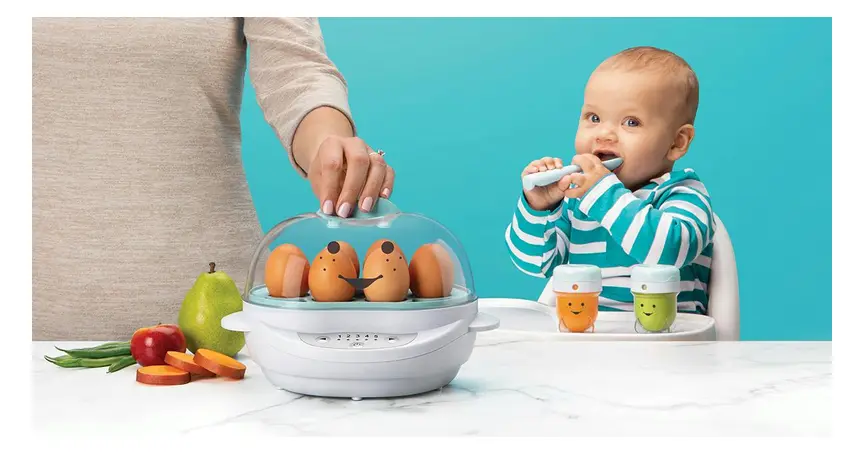
Official feeding and safety guidance: Australia, the UK, the US, and Canada
Before you start batch-cooking in any kitchen appliance, know the core rules. Below is the official advice from the national health bodies and product regulators in Australia, the UK, the US, and Canada.
| Topic | Australia (NHMRC, ASCIA, Raising Children, ACCC) | United Kingdom (NHS, OPSS) | United States (AAP, CDC, FDA, CPSC) | Canada (Health Canada, CPS) |
|---|---|---|---|---|
| When to start solids | Around 6 months, and not before 4 months. Look for readiness signs like head control and sitting with support. | Around 6 months. Wait until baby can sit up, hold their head steady, and coordinate eyes, hands, and mouth. | Around 6 months. Watch for readiness signs. | Around 6 months. Watch for readiness signs. |
| First priority nutrients | Iron-rich foods first. Offer iron-fortified cereal, pureed meat, poultry, fish, tofu, and legumes. Then add vegetables, fruit, and grains. | Vegetables, fruit, starchy foods, and protein or iron foods like meat, fish, eggs, and pulses. No added salt or sugar. | Iron- and zinc-rich foods like meats, iron-fortified cereals, and beans. Serve alongside vegetables, fruits, and grains. | Iron-rich foods first. Offer meat, poultry, fish, eggs, tofu, legumes, and iron-fortified infant cereal. |
| Introducing common allergy foods | ASCIA advises introducing peanut butter, well-cooked egg, dairy, and wheat around 6 months. Do not give before 4 months. Introduce them within the first year. | NHS advises introducing crushed or smooth peanut paste, well-cooked egg, gluten, dairy, and fish from around 6 months. Try them one at a time. | AAP advises introducing allergenic foods like peanut-containing foods and well-cooked egg around 6 months. | CPS and Health Canada advise introducing common allergens around 6 months. This is key for peanut and cooked egg. |
| Honey warning | Never give honey under 12 months. It carries an infant botulism risk. | No honey until over 1 year old. | No honey under 12 months. | No honey under 1 year old, even in cooked or baked foods. |
| Food contact plastics | Food Standards Australia New Zealand (FSANZ) checks food-grade materials. Consumer electrical safety is overseen by the ACCC and state regulators. | UK food-contact material rules and Office for Product Safety and Standards (OPSS) electrical safety rules apply. | FDA regulates food-contact plastics. BPA is banned in baby bottles and sippy cups. CPSC regulates children's products and phthalates. | Health Canada regulates food-contact plastics and electrical safety. BPA is banned in baby bottles. |
Electrical and material safety standards
Unlike car seats or cots, there is no special baby-specific standard code just for electric food makers. Instead, electric baby food makers are regulated as household kitchen appliances and food-contact items. Keep these safety points in mind when buying a machine:
- Buy for your own country's plug and voltage. Australia and the UK use 230–240V mains power with different plug shapes. The US and Canada use 120V power. Never buy a cheap grey-market appliance from an overseas marketplace that needs a travel adaptor on a wet kitchen bench. Look for your local electrical approval mark on the rating plate under the base.
- Avoid unbranded plastics. In the US, the Consumer Product Safety Commission (CPSC) enforces strict limits on phthalates in children's feeding and care items. Phthalates are chemicals used to soften plastics. In Europe and the UK, strict chemical limits also apply. Stick to reputable brands, or use plain glass and stainless steel kitchenware. That way, you never have to worry about unknown plastic additives.
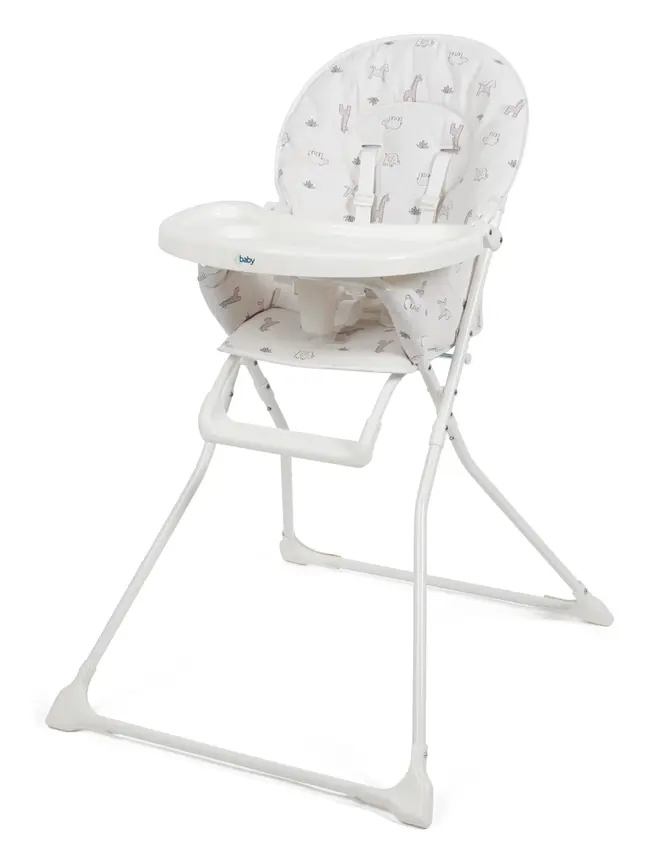
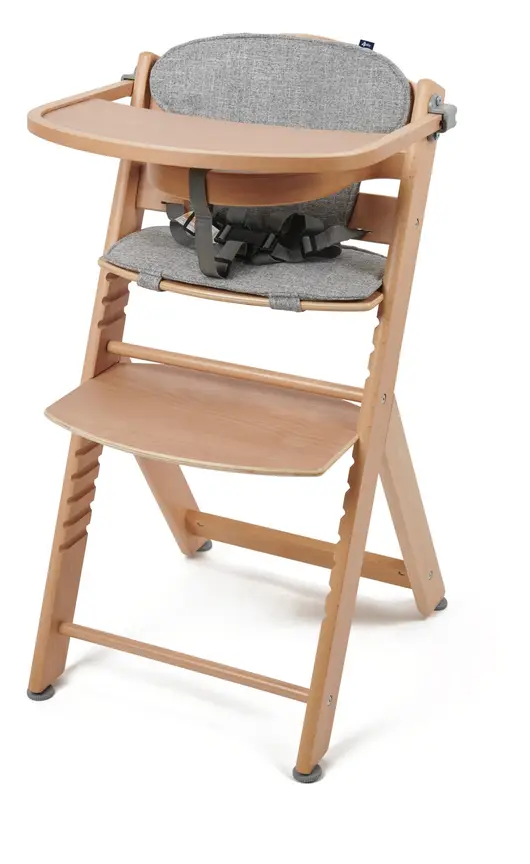
- High chair safety while feeding. Whenever your baby eats the food you make, seat them upright in a sturdy high chair. Always do up the harness. Look for high chairs that meet your country's safety standard. That means the Australian and New Zealand high chair standard in Australia (see Product Safety Australia's high chairs guide), BS EN 14988 in the UK, or ASTM F404 in the US and Canada. Never feed a baby who is reclined or lying back.
Food hygiene: how to cook, cool, freeze, and reheat baby food safely
A baby's immune system is still developing. That makes babies much more likely to get very sick from food poisoning bacteria like Salmonella, Listeria, or E. coli. Follow the official food safety guidance from the NHS, Raising Children Network, FoodSafety.gov, and Health Canada every time you cook.
1. Clean hands and clean tools first
Wash your hands with warm soapy water and dry them before touching food. Make sure your chopping board, knife, steamer basket, and blender blade are spotless. Use a separate chopping board for raw meat, poultry, and fish. Raw meat juices must never touch fruit or vegetables.
2. Wash and peel produce, and cook meats all the way through
Wash all fruit and vegetables under cold running water to remove soil and bacteria. Peel tough skins when your baby is first starting out. Are you cooking meat, chicken, pork, or fish in a baby food steamer? Cut it into very small, even cubes so the steam cooks the centre right through. Check that there is zero pink left in poultry or pork, and that the juices run clear. Eggs must be cooked until both the white and the yolk are solid.
3. Beware of nitrates in homemade spinach, beets, and carrots for very young babies
The American Academy of Pediatrics (AAP) shares an important warning about homemade vegetable purees. Certain root and leafy vegetables can contain naturally occurring nitrates from the soil. This includes spinach, beets (beetroot), green beans, squash, and carrots. In babies under 4 to 6 months old, high nitrate levels can stop the blood from carrying oxygen properly. That is one reason why health authorities in Australia, the UK, the US, and Canada say to wait until around 6 months to start solid foods. Also offer a wide mix of different vegetables rather than serving homemade spinach or beetroot puree every day.
4. Cool food quickly—never leave it sitting inside the warm machine
Once your baby food maker finishes steaming and blending, do not leave the puree sitting inside the warm jug on the counter. Bacteria multiply fast in lukewarm food. Spoon the food out into clean bowls or freezer trays right away. Let it stop steaming for a short time—within one to two hours at most, and sooner on a hot day. Then put it straight into the fridge or freezer.
5. Safe fridge and freezer storage times
- In the fridge (at or below 4°C / 40°F): Keep freshly made baby food in a covered container at the back of the fridge, not in the door. Use it within 24 to 48 hours (1 to 2 days). Meat, poultry, and fish purees should be used within 24 to 48 hours at most. When in doubt, freeze it right away.
- In the freezer (at or below -18°C / 0°F): Freeze portions in a clean silicone ice-cube tray with a clip-on lid. You can also use small airtight freezer pots. Once frozen solid, pop the cubes into labelled freezer bags with the date written on the front. Use frozen homemade baby food within 1 to 3 months for the best quality and safety.
- Important rule on breast milk: Did you use thawed breast milk that was previously frozen to thin out a puree? Never refreeze that puree. Only freeze purees made with water or freshly expressed milk. Or simply add the breast milk right before serving after the food is thawed.
6. How to defrost and reheat safely
- Defrost in the fridge, not on the bench. Move frozen food cubes into the fridge the night before you need them. Never leave baby food out at room temperature to thaw. If you need it quickly, defrost it in the microwave or over a pot of simmering water. Then serve it straight away.
- Heat until piping hot, then cool. The NHS and Australian food safety agencies share a clear rule for reheating cooked baby food. Heat it until it is steaming and piping hot all the way through to kill any bacteria. Then let it cool down before feeding your baby.
- Stir well and test the temperature. Microwaves and steam warmers leave dangerous hot pockets inside thick purees. Always stir the food well, let it stand for 30 seconds, and stir again. Test a drop on the inside of your wrist before putting it near your baby's mouth. It should feel lukewarm or cool, never hot.
- Reheat only once. Never reheat the same batch of food more than once.
- Throw away leftovers from the bowl. Once your baby's spoon goes from their mouth back into the bowl, saliva bacteria are in the food. Throw away anything left in the feeding bowl at the end of the meal. To avoid waste, spoon a small amount from your storage pot into your baby's feeding bowl. Keep the rest clean in the fridge.
How to clean and descale a baby food maker properly
If you own a steam-and-blend machine, keeping it clean is your most important job. Follow this routine so your baby never eats food steamed over mouldy water.
After every single batch
- Unplug the base and let the unit cool down so steam does not burn you.
- Take the blending jug completely apart. Remove the lid, pull out the rubber seal ring, lift out the steamer basket, and unscrew the blade from the bottom of the bowl.
- Wash every part in warm soapy water. Use a small brush around the underside of the blades and inside the lid grooves. Even if the box says "dishwasher safe", hand-washing stops plastic bowls from cracking or turning cloudy. It also keeps the blade sharp.
- Pour out any leftover water sitting inside the machine's water tank. Leave the water tank cap off so the inside can dry out completely in the open air. Putting the cap back on a wet, warm tank traps moisture and grows mould.
Every 2 to 4 weeks: descale the water tank
Tap water leaves white or chalky mineral buildup (limescale) on the heating plate. If you never clean it, the machine steams more slowly and makes loud spitting noises. It can even stop working, or spit brown flakes up into the steam tube.
- Do not use harsh chemical kettle descalers inside a baby food steamer. Instead, use plain household white vinegar or food-grade citric acid mixed with water. Check your machine's manual for the exact ratio. It is usually equal parts water and white vinegar.
- Pour the water and vinegar mix into the cold water tank up to the max line. Let it sit for a few hours or overnight. Some manuals tell you to run one short steaming cycle with no food in the bowl.
- Pour the vinegar mix out into the sink.
- Fill the tank with fresh tap water. Run two to three full steaming cycles with plain water only and an empty jug. This flushes every trace of vinegar smell out of the steam pipes.
- Empty the tank and leave the lid open until bone dry.
Choking prevention: foods your blender should handle (and foods to prep carefully)
Soon you will move past smooth purees and offer mashed food and finger foods. When you do, keep choking hazards in mind. Health bodies in Australia (Raising Children Network and Better Health Channel), the UK (NHS), the US (AAP), and Canada (CPS) highlight the same high-risk foods for young children under 4 to 5 years old:
- Hard raw vegetables and fruit. Raw carrot, raw apple, and raw celery are common choking hazards. Always steam, boil, or bake them until they squish easily between your thumb and forefinger. You can also grate them finely.
- Small round foods. Whole grapes, cherry tomatoes, blueberries, and large berries can plug a child's airway. For young babies, cook and mash them. Or cut grapes and cherry tomatoes lengthwise into quarters—never across in round coins. Remove all pips and stones from stone fruit.
- Nuts and seeds. Never give whole nuts or large pieces of nuts to children under 5 years old. Instead, offer smooth nut pastes like 100% smooth peanut butter. Thin it with a little warm water, breast milk, or warm fruit puree. That way, it is not a thick, sticky glob on the roof of the mouth.
- Sausages and tough meats. Remove tough skins from sausages and cut them lengthwise into thin strips. Or mince tender cooked meat finely with gravy or vegetable cooking water.
- Popcorn, hard lollies, and corn chips. Keep these away from babies and toddlers completely.
7 common mistakes parents make with baby food makers
- Buying a baby food maker months before the baby is even born. By the time your baby reaches 6 months, your warranty is already half gone. You might also decide to do baby-led weaning or use your own stick blender instead. Wait until your baby is nearly 6 months old before deciding if you want one.
- Buying reusable squeeze pouches and feeding from the spout every day. Many baby food maker kits come with refillable plastic squeeze pouches. They are handy for an occasional outing. Still, feeding specialists and health bodies note that sucking puree straight from a pouch nozzle does not teach a baby how to chew or use a spoon. It is also hard to clean inside the corners of reusable pouches. Plus, sweet fruit purees held against new teeth can cause tooth decay. Use a bowl and spoon at home.
- Adding salt, stock cubes, soy sauce, or sugar for "flavour". A baby's kidneys cannot handle added salt. Added sugar damages developing teeth and sets up a sweet tooth. Plain vegetables, herbs, garlic, or mild spices are plenty of flavour for a baby.
- Pureeing food into a thin liquid for too many months. Do not keep blending every meal into a silky soup past 8 or 9 months. Babies who only eat smooth purees often become fussy with lumps later on. Switch from smooth blending to pulsing or mashing with a fork once your baby gets the hang of swallowing.
- Forgetting to check underneath the silicone ring and blade base. Even a clean-looking bowl can hide black mould under the rubber lid ring. Mould also hides inside the hollow plastic hub of the blade. Pull every seal off when washing.
- Leaving standing water inside the tank between uses. Filtered water helps reduce limescale, which is great. However, leaving standing water inside a dark, warm tank between uses grows bacteria and mould. Empty the tank every time.
- Cooking huge batches of 20 different recipes before your baby has tried them. Babies change their minds quickly. You should also introduce key allergy foods one at a time so you can spot any reaction. Start with small amounts before filling your entire freezer.
More options, from budget to premium
Real products from our catalogue. We don't show star ratings or review counts; check the current price, stock and reviews on Amazon before you buy.
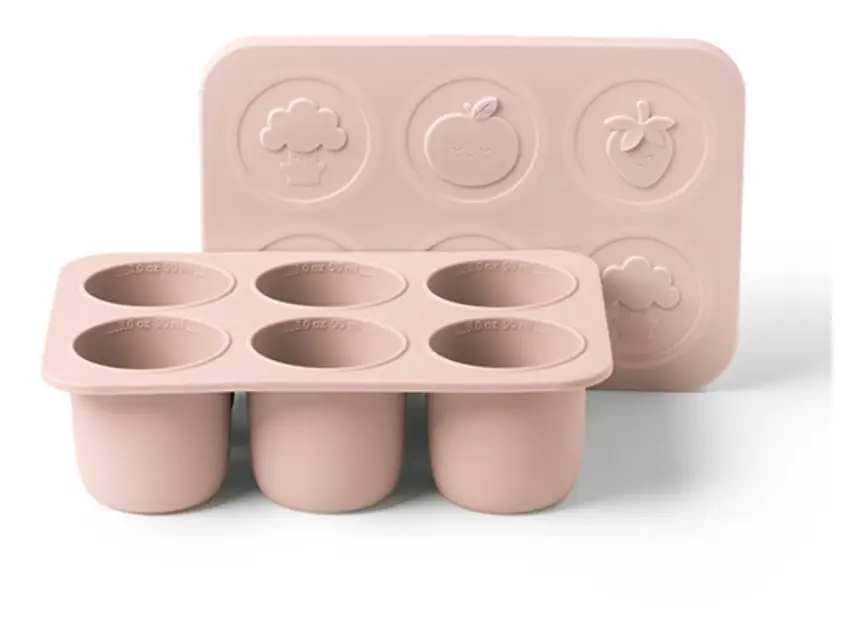
Annabel Karmel Silicone Freezer Food Tray
A silicone tray for freezing small portions of home-made baby food.
 Reviewed
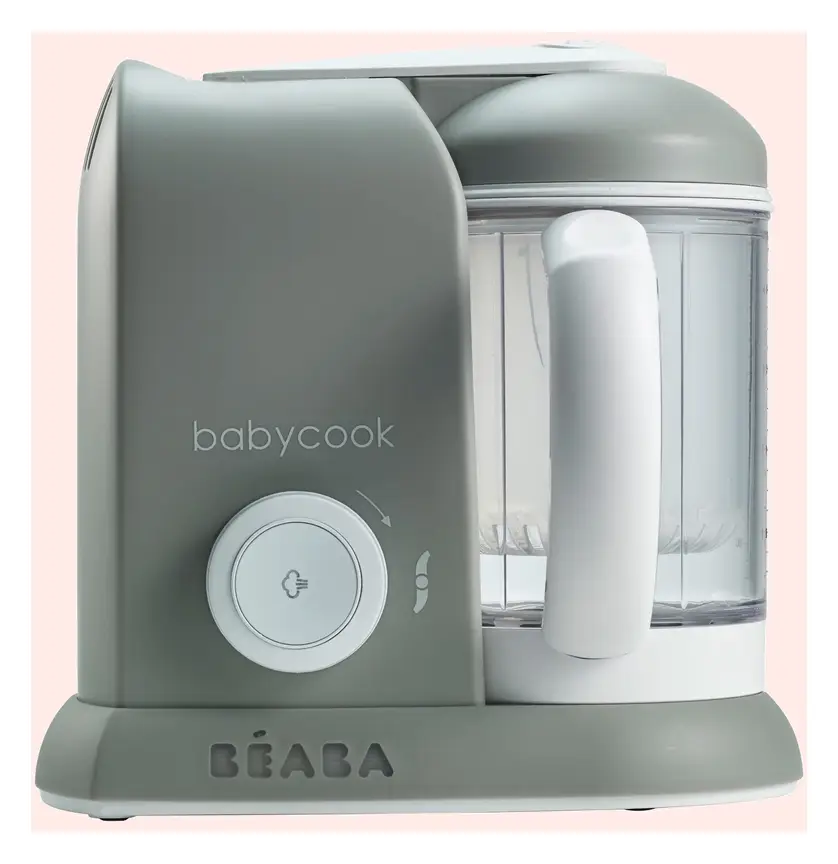
Beaba Babycook Solo
A compact steamer blender with a 1.1 L bowl. It steams, blends, defrosts and reheats.
Read our full review →
Cherub Baby Food Pouch Spoons (2 pack)
Spoon tops that screw onto food pouches, so you can spoon-feed on the go.
Frequently asked questions
When should I start making solid food for my baby?
Health authorities in Australia (NHMRC), the UK (NHS), the US (AAP), and Canada (Health Canada and CPS) all give the same advice. Start solid foods at around 6 months of age, and never before 4 months. Wait until your baby shows clear signs they are ready. They should sit up with support and hold their head and neck steady. They should also reach out to grab food, bring it to their mouth, and swallow it rather than pushing it back out with their tongue.
Is a glass baby food maker better than a plastic one?
Yes. A glass bowl with a stainless steel steamer basket is a better choice if your budget allows. Glass does not scratch when the metal blade spins. It does not turn cloudy or stain orange from carrots. It holds no food smells, and it does not shed microplastics when exposed to boiling steam. Just take normal care not to drop the glass bowl on hard kitchen tiles.
Can I cook raw meat, chicken, and fish in a baby food steamer?
Yes. Most electric baby food steamers can cook raw meat, poultry, and fish. These are wonderful sources of iron and zinc for babies from 6 months on. Cut the raw meat into tiny, even cubes about 1 to 2 cm wide. Do not overfill the basket so the steam can reach every piece. Always cut open the thickest piece after steaming. Check that it is cooked all the way through with no pink left before you blend it.
What liquid should I use to thin out thick purees in the blender?
For a 6-month-old starting solids, the best liquids are your baby's usual milk (expressed breast milk or made-up infant formula) or cooled boiled water. Using their familiar milk adds extra nutrition. It also gives the new food a comforting, familiar taste. If you steam vegetables over clean water, you can also use a splash of the vegetable steaming water.
Can I put breast milk inside the steamer part of a baby food maker?
No. Never pour breast milk or infant formula into the water tank of a steamer. Also avoid boiling breast milk. High heat destroys the helpful antibodies, healthy fats, and vitamins in breast milk. Burnt milk will also ruin your machine's heating element. Instead, steam the fruit or vegetables using plain tap water in the tank. Let the food cool slightly in the blending bowl. Then stir or blend in a splash of fresh or thawed breast milk right at the end.
How do I get black mould or white scale out of a baby food maker water tank?
White crusty buildup is limescale from tap water minerals. You can dissolve it by soaking the cold tank with equal parts white vinegar and water, or a food-grade citric acid mix. Pour it out, then run two or three plain water steam cycles to rinse it clean. What if you see black or pink mould growing inside a sealed plastic water tank or tube that you cannot reach with a brush? Stop using the steaming function right away. Mould spores cannot be reliably scrubbed out of sealed internal tubing.
Do I need to sterilise the baby food maker bowl and spoons?
No. Both the NHS and Australian health guidance explain the difference. You must sterilise milk bottles, teats, and formula gear for babies under 12 months. However, you do not need to sterilise bowls, plates, blenders, or spoons used for solid foods at 6 months and older. Just wash bowls, spoons, and blender parts well in hot, soapy water (or on a hot cycle in the dishwasher) and let them air-dry cleanly.
Sources
- Raising Children Network – How to make baby food: in pictures
- Pregnancy, Birth and Baby – Food preparation and safety
- NHS Best Start in Life (UK) – Storing and reheating food
- NHS – Your baby's first solid foods
- American Academy of Pediatrics (US) – Starting solid foods
- FoodSafety.gov (US) – Food safety for children under five
- Caring for Kids (Canadian Paediatric Society) – Feeding your baby in the first year
- Lee et al. (2018), Food Science and Biotechnology – Effect of cooking methods on vitamin retention in vegetables (PubMed)
Related guides
More Parental Tips →
Drawbacks of Using a Food Processor for Baby Food (And Better Ways to Mash and Blend)

How a Baby Food Maker Can Save You Time, Money, and Stress

All-in-One Baby Food Makers and Processors: Time-Saving Tips and Food Safety for New Parents
